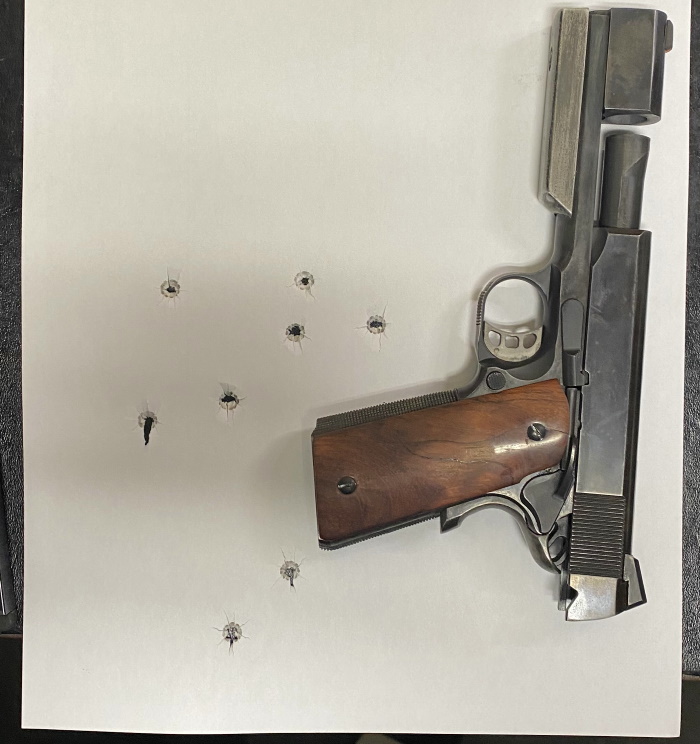
My buddy Chris is hanging up his FFL and moving on to a great new job. Best wishes to him and his family, and good luck in the new career! That’s the great news. The not great news is that I had just decided to pull the trigger on getting the 9mm speed gun coated and he’s not going to have time. Bugger.
But being the mensch he is Chris handed me a bunch of Gun Cote paint! OK, a quick stop at Harbor Freight for an airbrush and I was in business… until I started painting and the compressor died. Bugger. OK, off to Harbor Freight again and bought another airbrush that came with a compressor. Never hurts to have a backup, and the combo was half the price of the compressor replacement.

Most people blast the gun before painting but I don’t have a blast cabinet, so I just washed the parts thoroughly with Dawn dishwashing liquid, then Barkeeper’s Friend scouring powder, then soaked the them for an hour in acetone. This seems to have done the job.
I have used an airbrush before, when I was like 12 years old to paint camouflage on model airplanes. So I read the directions for the airbrush, read the directions for the Gun Kote and got busy. I had to string some cord in my shop to hang the parts with music-wire hooks. Easy peasy. So I was learning the ins and outs of airbrush painting while using a product I’d never used before. What could go wrong?
Not much did, but lets say at close range you wouldn’t have to wonder which parts got painted first. There are some spray marks on the under-barrel weight and on the right side of the fixed weight I discovered some blemishes I hadn’t noticed. Fortunately the paint makes it super-obvious, though naturally not until after I had baked the parts.
You’re supposed to bake the painted parts at 300 degrees according to the manufacturer. Your are supposed to bake the parts at 325 degrees, also according to the manufacturer. I went with Chris’s advice and baked them at 425 degrees then let them cool in the oven. The results are…
…well they’re not tragically bad, but they are very obviously the work of an amateur. It does however look cool as hell from a couple feet away. I’m going to need a respray on some parts. At least by the time I got to the frame (the last thing I painted I was dialed in.
For my color scheme I painted the slide, weights and mainspring housing something called ‘SOCOM Black or some crap like that. I painted the frame Light Olive Drab for contrast. The slide release and ambi safety I left the black they already were.
So here it is, warts and all, for your viewing pleasure.
Not terrible for a first attempt, but no one would be surprised if told them that’s what it is. Live and learn.
Aside from that the only thing the gun really needs is a trigger-job. I mean, it’s good now but it’s not competition-pistol good. I’ll try to walk you though it when that happens.
Anyway it’s close, but no cigar. Well, maybe a cheap one. Next time will be better. Thanks Chris! All the best to you and yours.
Stay Safe and take care,
Michael Tinker Pearce, 10 February 2022
Opinel? Good taste 🙂
Awesome. New skills always get better with experience. A friend of mine coated a Ruger Police Service Six for me. Not pro quality but not to bad. Now you’ll be looking for good guns with bad finishes just to coat them
Yeah, I’m already thinking about my other 1911…